Wednesday 9 May 2012

The Big Build - Part 2


So I sat at home for two weeks with this half built box occupying a huge space in the lounge and my bemused fiancee looking at a Biro scribble on a piece of paper and three sides of MDF that meant the lounge was, after a whopping couple of weeks of bliss, back in chaos.

But as they say on The Crow (the original, not the remake slated to feature my least favourite actor Bradley Cooper) It Can't Rain All The Time.

Sure enough the sun eventually came out and it was all systems go to start turning the vision on the paper into reality.

The next major task was to put shelves in place.
Due to a slightly wacky idea about a hinged top section I decided to build up from the bottom treating each level individually.

The first thing I had to do was remove the front I had put on for the digging pit as it was typically in the way...

Level 1

The ground floor is to be the digging pit.
As Degus are burrowing animals I wanted to create a pit that could take a hefty amount of bedding so we can add stones, branches and of course the terracotta tunnel so they can root and play around in a relatively darkened area.
This presented a problem - with Level 1 standing 40cm above the base it left a decent viewing gap to the bottom but not enough space to perform maintenance tasks like removing the terracotta tunnel easily.
But more on this issue later.

Sandbath
Degus keep their coats free of grease and clean by rolling in sand or Chinchilla dust in our girls case.
We have a sandbath available all the time in the cage, but in order to preserve what CARA we have at the moment we use a small pet bowl. This is fine for one of them to have a quick roll, but it isn't ideal and twice a week we give them a few hours access to the large metal dish where the sand is deeper and they can get a full body roll.
Part of my dream was to have enough space that the large bath could remain in the cage full time.
And it's destination was Level 1.

First off I needed the basic shelf. In order to view into the digging pit this shelf was to be shorter than the others at 95cm W x 45cm D.
I then traced the sandbath shape on the MDF and had at it with the jigsaw.


This took a bit of fine tuning but it fit like a glove.


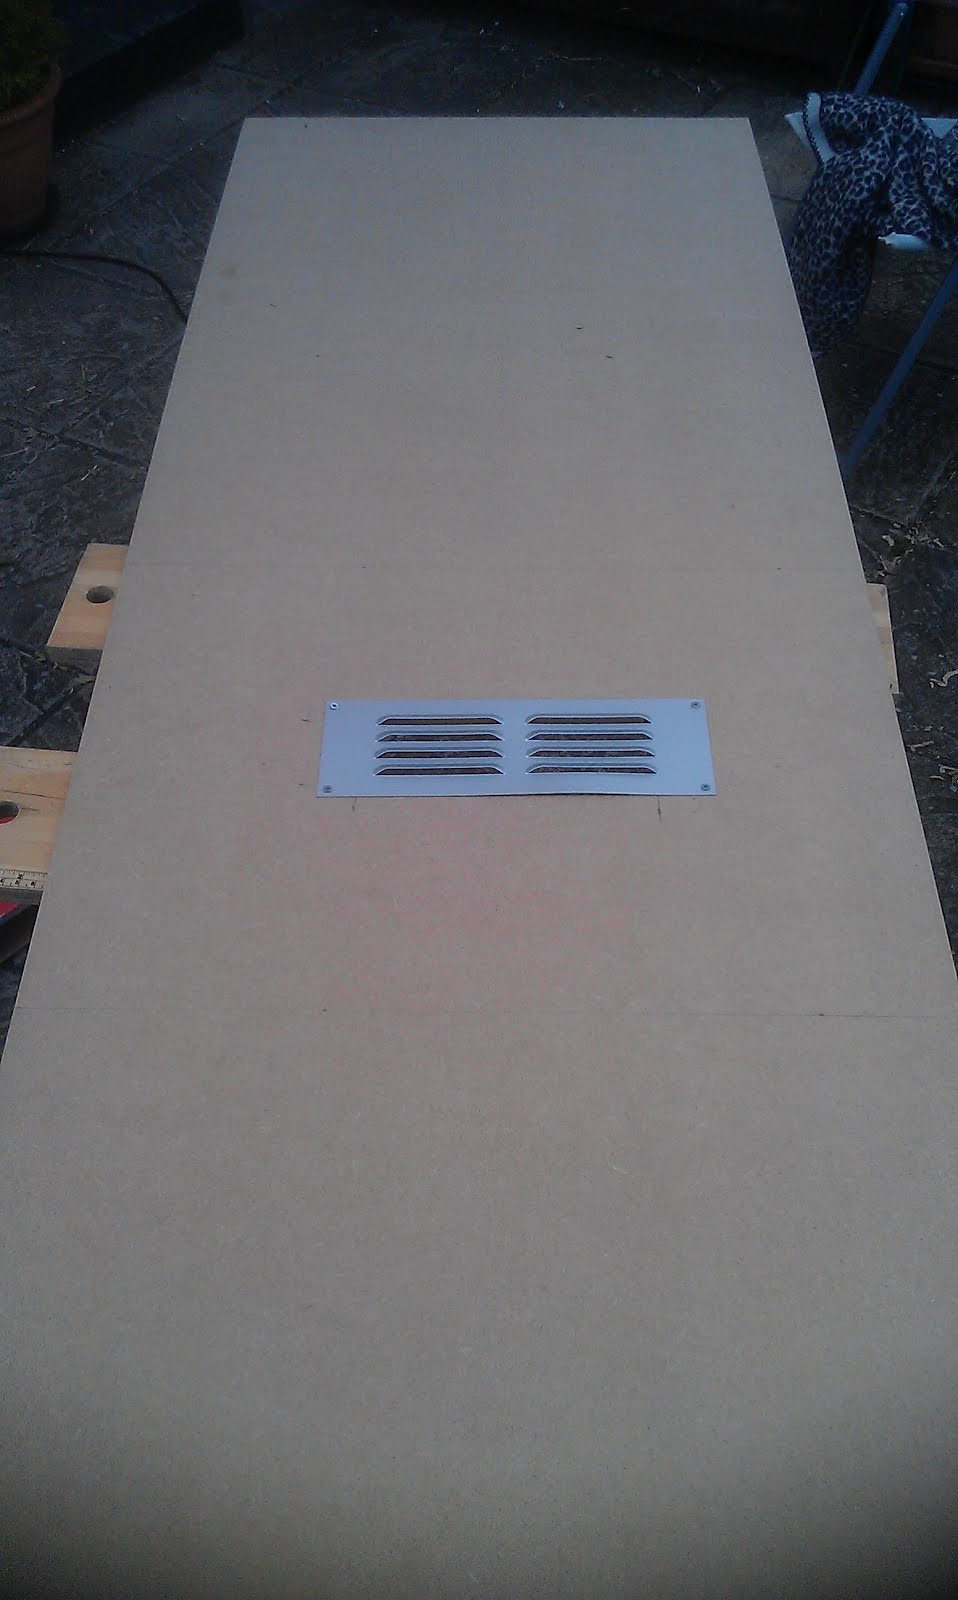
Next up was to make an entrance to the pit.
I wanted this to be smaller than the others and give the impression of the Goos disappearing underground.
As such the initial dimensions were 10cm x 10cm.


With my base shelf prepped it was time to start planning on an ingenious idea that came to me one afternoon watching football.
Taking four bolts I counter sunk them into the shelf at the edges where the pine strips were going to form runners around the level. Having drilled the holes, countersunk the screws and hollowed a bit out of the strip that would go over the top I glued the bolts into position, G clamped the pine edging strip over it and screwed it into place.


Once this was done the G clamps were removed.
As you might just make out this now meant I have sturdy 'pegs' in the shelf that can hold it in place and fit into larger brackets on the sides of the box so the level can be lifted in and out or angled up to get at the area underneath.


Rinse and repeat


Owners of Degus will know that they love to chew things they shouldn't and as such whilst MDF is great to build things cheaply it is not ggod for the Goos to eat. As such any exposed edges need to be lined with Degu safe wood such as Kiln Dried Pine.

As an aside, due to all the Degu projects I have a box in the shed of 'Miscellaneous Degu Safe Wood' utilising bits of left over pine etc. My friends find this incredibly amusing...

So I set about proofing the shelf.
I am aware that the Goos will chew their way through the pine eventually and it will have to be replaced so I wanted to design each level so I can easily replace the pine sections as need, hence more devious planning.

Front edge (this edge is likely to be reached from below and the front so I dropped the ledge down to cover the shelf bottom).


The entrance to The Pit


Those of you who have read the Double Decker build should know what comes next.
Once the edges have been covered it is a case of protecting the shelf from the effects of the extremely corrosive Degu urine. This was solved by self adhesive vinyl tiling.


Then it was the moment of truth.
Brackets were attached to the box


The shelf then nestled into it's peg holes perfectly and began to add rigidity to the build.


Level 2

Level 2 and 3 aren't quite as special and so for your sanity I have skipped the shelf building process.
If you are really dying to see how I build my shelves this post and the Double Decker cage posts should have enough blow by blow pictures!

Because this one won't obscure any viewing space I was able to extend it to 95cm W x 55cm D to maximise the CARA potential.

However due to wanting a variety of different methods of traveling between levels I needed the entrances to be bigger so this time I opted for 20cm x 20cm. The entrance was made on the opposite side as even agile Degus can be clumsy and fall. This way none can fall more than one level height (40cm) although with the ledges that will be added later this is even more unlikely they will fall more than 20cm.

Other than those details the construction was the same as the previous shelf.


Then my partner and I fitted the shelf.


The key difference here is that the shelf is mounted on L shaped metal brackets. Because the second level will not obscure access to the cage it does not need to be moved on a regular basis like the first.
However I was keen to have the ability to remove the shelf with relative ease should the need arrive for servicing, which let's face it will happen at some point.
The answer was to find bolts that can be unscrewed to stop the fatigue of removal weakening the box.
Note: When the box is ready these bolts will be the other way round for aesthetics.


At this point (as evidenced by the penultimate shot) we lost the light.

The next day was Goo cleaning day so I thought I'd grab a chance for a perspective update.


Ground Floor

At some point I will have to put the front back on the box, but before that I needed to proof the floor which required more tiles. Due to an error in selecting the tiles we didn't get the same as were in the Double Decker so we do have two odd tiles on the ground floor, however in order to satisfy my OCD this will be buried under about 4" of Finacard!


Level 3

Again rather than bore you stupid with shelf making, this is mirror of level two - all the sizes and processes are identical but the entrance is back on the other side.
Not only will this prevent long falls but it will mean that the Degus have to take a Zig Zagging path to get from top to bottom and vice versa which will increase the amount of running they will have to do, hopefully benefiting them in the long run.


The shelf was fixed in place in exactly the same method as Level 2 which means that all three main levels can be removed fairly easily (provided I construct the front right) and all are 40cm vertically between which means that I can comfortably add ledges and toys at 20cm to increase their activities around each level.

Which just about brings us up to date...


The Big Build - Part 1


Those of you who have found your way here via various forums may have heard me repeating 'when I build my DIY cage' from me over and over again.
Well finally last month I embarked on starting the actual cage.
Having been extremely pleased with my efforts in making the cabinet for the existing (and future) cage to stand on I was fairly confident in my abilities to crack on with the next stage.

So it was time to get down to B&Q and top up on bits and pieces.
Again I should take a moment to praise my much abused little VW Polo.


So with the sun shining and the afternoon stretching out ahead of me I got myself prepared with all the tools I needed.
Please note the beer was purely to aid the creative process and was consumed responsibly.


The big board for the back of the cage - a sizeable 160cm H x 95cm W was already cut thanks to B&Qs free cutting service.
Although I should point out the car journey home for that trip was interesting to say the least.

The next step was to ensure the side pieces (also cut by B&Q to ensure crisp straight lines rather than some idiot with a jigsaw drinking beer in the afternoon sun) which measured 160cm H x 60cm W were doctored for use.
Given that the new cage will be fronted by perspex/glass it is essential to provide ventilation.
Whilst the top will have mesh this is a sizable building and would benefit from addition airflow through the lower levels so I added vents in between the first and second floor.
These are metal vents for the inside.
Outside I can add plastic ones as the build progresses to make it presentable to the rest of the room.


Once the vents were fixed it was time to create the base.
Due to B&Q having inconsistent stocks of MDF I ended up picking up two sheets of 9mm rather than the 12mm that had provided the material for the base box so I took the decision to create a support bracket structure inside the box.
This will perform two functions:
1. Keep the box sturdy (it is massive after all)
2. Give the Goos something to chew - they are likely (hopefully?) to be attracted to the pine more than the MDF sot they can chew this wood to the point where it forms a curved infill for the corners and this render them stronger... in theory...

The next step was to attach the sides using the pine brackets.
This was easier said than done!


Then it was a case of fitting the backboard to it.
I tried to be clever and balance it on top and secure with brackets.
I failed and nearly removed my knuckle at the same time so opted for a safer way.


Once this was done it was time to strengthen.


With storm clouds looming we carefully shuffled the box into the newly decorated lounge.


It then promptly rained for two weeks solid apart from the day Bex and I were victims of all hangovers due to over indulging on cocktails for her birthday and with no garage I was forced to halt proceedings and find alternative ways of amusing myself including trying to give a sense of perspective.


Tuesday 8 May 2012

The Finacard Revolution

On the forums I regularly frequent more dedicated people than I have conducted extensive research into different types of substrate for animal bedding that is suitable for Degus.

Ever since we bought our three home we have used woodshavings - largely because a pack came with the starter kit and that's what they were using in the store... if ain't broke don't fix it right?

Well not strictly true.
One of the draw backs of having Degus in a cage is that as burrowing animals they like to kick their bedding about and in the early days we would end up sweeping our lounge two or three times a day depending on what mood they were in (thank God for laminate flooring), not to mention the fact they would end up with very little floor covering after a few days.

In order to try and combat this I added four inches of kiln dried pine all round the cage.
This worked well to keep the mess down but the Degus and my good lady were unhappy because they could no longer see the bottom level clearly - the goos couldn't be noise and we couldn't view them.
As a compromise I lowered the front panel by two inches.
However this meant that we would still get some mess.
And the Goos would have lots of pine to gnaw through at the side of the cage...

With the planning of the new Degu palace I sought to eradicate that problem by creating a digging pit and putting them behind sliding doors but wheels began to turn towards us getting a rabbit and I was keen to get a universal bedding that could be shared by both pets and bought in bulk for a reasonable price.

Enter Finacard

To steal some promotional blurb off their website:
Traditionally, for small animals the most common form of bedding/substrate has been woodshavings. They have been readily available and have been relatively inexpensive. Of recent, woodshavings have become a lot more expensive and questions have been raised regarding its suitability for small animals, especially soft wood pine shavings. Now various alternatives to shavings are available. One of the alternative is FinaCARD shredded cardboard animal bedding.

FinaCARD shredded cardboard bedding is an environmentally friendly alternative to woodshavings. It provides a healthier, cleaner environment for all small animals.

FinaCARD shredded cardboard animal bedding is produced from virgin unused cardboard, ensuring that the bedding is as clean as possible. FinaCARD shredded cardboard bedding is very different from other cardboard bedding. It is very much finely shredded cardboard bedding. The way it is produced makes it much more springy and livelier. It tends to be a lot more bouncier than square cut cardboard bedding.

When one thinks of cardboard bedding, one of the first thoughts is that it will be rough harsh uncomfortable bedding. The way FinaCARD is produced, it makes the bedding surprisingly soft and comfortable and kind to the little feet.

During the production process, FinaCARD is dust extracted. The process makes the bedding virtually dust free. This provides a cleaner, healthier enviornment for your animals. Most small animals have a very sensitive respiratory system and dusty environment trigger off respiratory infections. Being dust extracted, FinaCARD minimises this dust hazard.


This sounded ideal to me and we placed our first order the week before this little cutey arrived.

The Finacard arrived within 3 days which considering it is free delivery was awesome.
And the amount was huge.

The maxi-bale filled a domestic black rubbish bin and a black rubbish sack so it was well worth the price and will last for ages.

In addition to this we got the 'Soft Nest bedding' add on to the bale.
This is a softer tissue paper for the nesting box/rabbit bed.

Having lived with it for two weeks now I can say it is great - it does the rabbit hutch very well.


And the Degus love it.


This is in part due to the occasional 'treasure' of a large chunk of cardboard that hasn't been shredded down and both animals grab these with joy and run around like crazy before ripping them up.

From our perspective the larger pieces don't come out of the cage as much as woodshavings, meaning we are not constantly sweeping, the carcboard is actually very soft and extremely absorbent and a bale will seriously outlast the same amount (money wise) as shavings.