Thursday 15 March 2012

Making A Double Cage Part 3


So with all the relevant components prepped and ready we were on the home straight.

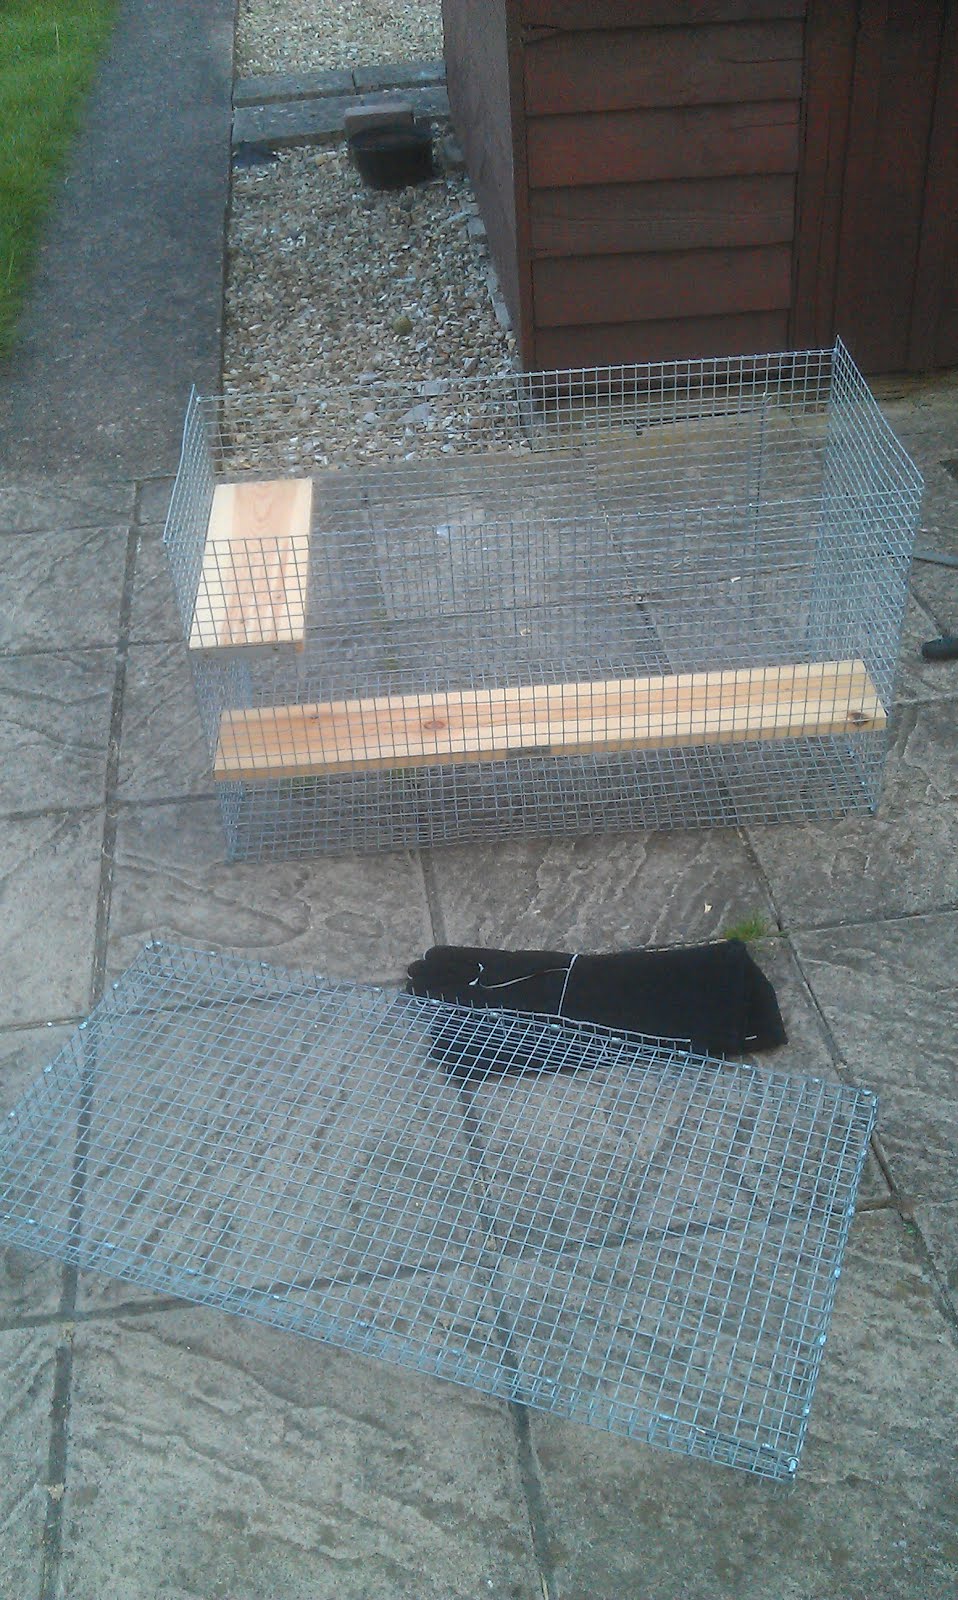
First up was to kit out the two separate cages before joining.

Here you can see the apple wood 'steps' - even now they have eaten all the bark off it remains one of my favourite features.


The rest of the wood was to form ladders between levels


It was easier to put the scramble net and random wood chunks in before the big pieces got in the way.


Now it was time to strip the old cage of it's bits and pieces.


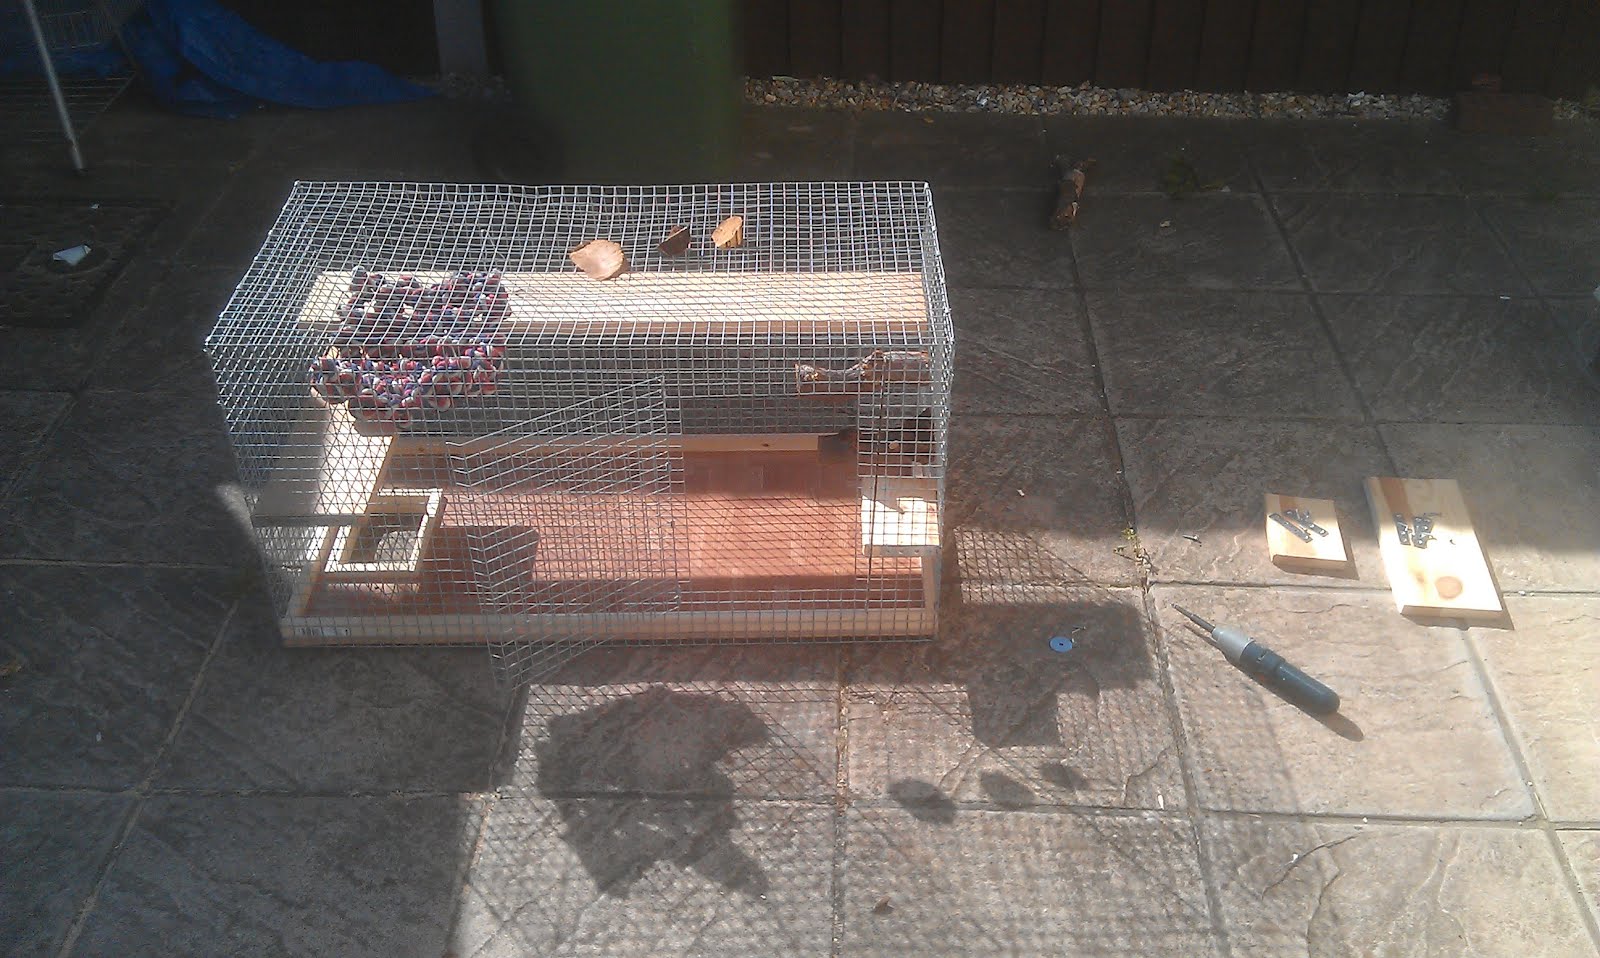
To the bottom cage four inches of pine was added all the way round to create a mini digging pit.
This has since been reduced to two inches at the front so we can view them better on the shelf.
We probably don't give them enough sawdust to dig properly, but the side pieces has kept them occupied and given them plenty to chew...


Next the entrance between levels needed measuring.


Having measured the position on the roof of the top cage the tin snips were used again to cut out the correct sized section.


For safety's sake whilst we moved the two cages back inside and cannibalised the bits the girls (to their disgust) were placed in the carry case.


Using the remaining 'C Clips' the two cages were joined together and the roof of the bottom cage screwed using flat brackets to the bottom of the shelf to hold it further and ensure the Goos had decent clearance.


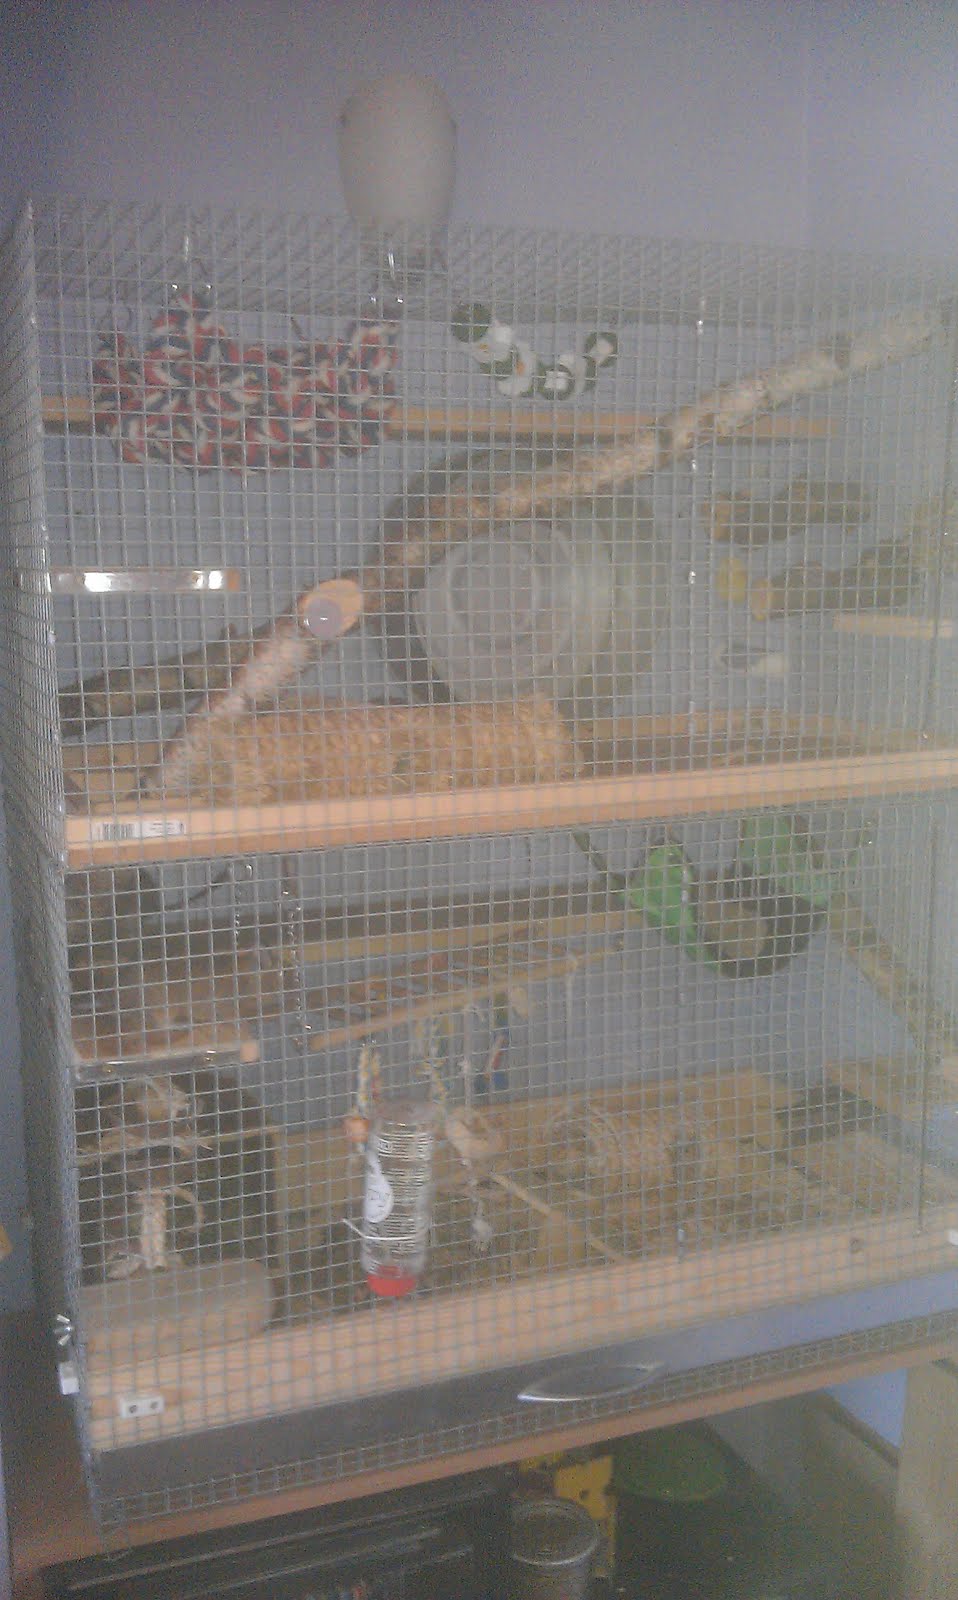
Once the cages were joined it was a matter of lifting it back onto their shelf, putting back in the toys and finally the Goos.
It was quite funny as we put them in the bottom cage (their old one) having rearranged it.
They spent ages cautiously skulking about it until one brave Goo decided to venture between levels.
And they have never looked back!

Making A Double Cage Part 2


Welcome back...

Having been driven inside by the fading light I spent the evening in front of the TV removing the 'C Clips' from the off cut bottom of the cage. Again this is a job to be done carefully as not wearing my gloves I picked up more nasty scratches from this then cutting it apart.
Having removed as many as I could without damage I set them aside to be used the next day to strengthen the top cage and attach the two together.


The next day we got to work on the project was glorious so it was straight outside and to the matter of fixing the pine to the second shelf.


In order to preserve the MDF from urine erosion, wear and tear or being eaten the base was lined with vinyl self adhesive flooring tiles.


Once the shelf was ready the body of the cage was strengthened with some of the extra 'C Clips' and the shelf was fed at an angle into the cage and then literally beaten down into position ensuring a tight fit thanks to the raised pine edges.
It would say it fit like a charm but we ended up reshaping the corners slightly!


Now that the top cage was structurally complete again the extra look out shelves could be added in.


Having spent time admiring the DIY cages on Degu World it had occurred to me our girls had never actually had real, non treated wood or ever been in a natural environment and this made me sad.
Of course they will never experience the wild, but my parents have an apple tree and a birch in their garden which required trimming and so we returned from a visit there armed with enough 'real' wood to let our girls experience more than sterile pine.
But first we had to make them fit!


There was this lovely branch I wanted to run across the cage but it wouldn't fit in as a whole piece so it was cut in half, chiselled and a bracket added.


The bracket could then be used from inside the cage to reassemble the branch and provide stability.


Once all the wood than was going in the cage was ready it needed to be sterilised.
Having spent a fair bit of time in my parents wood store I didn't want they girls to pick up any bugs from it so it was soaked in boiling water and vigourously cleaned with Pet safe disinfectant.


This is probably the best point to leave this part as the final instalment will detail the construction.

Tuesday 13 March 2012

Making A Double Cage Part 1


Given my enthusiasm to photograph everything it will probably be easier to break this down into three sections to make it more digestible.


As I have explained our little girls needed more space and being financially constrained by the construction work on our house I was desperate to find a solution.

I managed to find a second hand Thickets cage on Ebay for £25 and a seller who was prepared to put it on a courier provided I arranged it all - a big thank you Ainars!
Anyway I managed to track the cage all the way down to Exeter from Maidstone and it arrived at work 2 days later.


Having got it home and borrowed tools from work - file, pilers, tin snips etc - I was ready to start my plan.
Note the long gloves - saved me from some nasty cuts!


I started by moving the top shelf up by a few centimetres as the John Hopewell wheel doesn't fit under the standard Thickets Cage layout.


Using the tin snips I cut off the bottom hinges where the tray slides in and filed down the points.
This was a fairly laborious job!


I then bent over the corners to create a stronger, bigger surface for the new cage to attach to the top of the old one.


Then it was power tool time!
Using a large section of MDF the next step was to cut the exact size of the interior measurements of the top cage in order to create a large running platform for the Degus.


I then measured and cut kiln dried pine to ensure there was no way the Goos could get at the MDF edges


Before fitting the pine to the edges it was time to make an entrance to the upper level using a drill, a jigsaw and some precise measuring.


And of course these exposed edges had to be covered with pine.


It was not long after this stage that the light began to go... which is a fairly convienent place to call the first part quits.

Growing Pains...


Since about September the acronym CARA has never really been far from my lips.
Why?
Because I am 1) In reality quite sad and 2) Bex and I love our little furry creatures and want them to have the best we can offer.

This stems from an issue that comes from selling animals commercially and a lack of knowledge/education about Degus in the English speaking world.
If you have read how we came to get our girls then you will remember than initially we were going to have two, but given the Degu is a social animal and there were three in the shop we were suckered into taking all three home.

Given this is more about our experiences I shall stop at going into a rant about misinformation, but we were assured that a single 'Thickets Cage' would be enough to house the three Degu we were buying.

Standard Thickets Cage - it looks so empty and boring here!


And so it was for a while as the three little creatures grew and required more stimulation their behaviour started changing and they became more destructive and would spend there time maniacally rattling the bars and 'C Clips' of the cage and becoming agitated and if I am honest, puzzling and hard work.

Having stumbled onto Degu World for advice as to why our Degus were becoming more and more agitated we realised that there was a world of information we had previously been unaware of.
The Degu may be a fairly new animal to keep as a pet in the UK, but in mainland Europe there are several countries who are streets ahead of us in understanding how to care for the little creatures with more understanding (if you can ever truly understand a Degu!).
The advice on Degu World is largely influenced by the thinking found on the continent and as such they have come up with their own, more appropriate Cage Size recommendations and CARA thread to help advise people about the requirements of the space needed to keep a happy Degu pack of varying sizes.

With this in mind and a visit from friends looming a month away (not to mention our furry little charges acting out due to constraints) I set out to improve their housing situation by doubling the size of their cage by attaching another Thickets Cage to the top.

Double Decker


Elsewhere in this blog I will detail the process I went through in order to make this cage extension.
Whilst this has been a good way of increasing our girls CARA there are still improvements that could be made to their living space - including size.
Having a cage this large is great for the space but it means we need to lift it up and down each time to clean and with Bex having a bad back this is impractical and often messy.
Having excepted the amount of care the girls need and having accepted the amount of room we are prepared to give them I will be custom building them a new DIY wooden home and dedicating one alcove to their needs which I will be detailing once the project is underway.

Degu? I had one the wheel came off...


Degus can run up to 5k a day in the wild, meaning they are extremely active little creatures and so it is essential (at least for ours who may not get out as much as other people's) that they have an exercise wheel as part of their entertainment.

We initially bought the set up kit from Pets At Home which included their standard wheel.
After two and a half months this started making a horrendous noise whilst we were watching TV to the point where it became unbearable.

Standard Wheel


On closer investigation the pressure caused by three growing Degu, often trying to run on the wheel at the same time, was destroying the axle in the centre.
The plastic was being eroded by the harder plastic of the wheel and scraping every time they got going.
Turning the plates holding it onto the stand brought us about two more weeks until it fairly stopped working.
At which point the Goos trashed their cage, chewing and destroying every thing they could - attacking the shelves, the bars and chucking things around until we replaced the wheel with a shiny new one from Pets At Home.
Once a new wheel was installed peace descended.

Ruined Axle


For about two months...
Then the new wheel started exhibiting signs of wear which grew worse and worse.

Given that these wheels cost about £20 a pop it looked like we were going to average £80 a year on Pets At Home wheels!
Fortunately we stumbled across John Hopewell on line.
John makes metal wheels, cages, drinking devices etc for rats, degus, chipmunks etc
And for £50 he sells a metal wheel which runs on the same principal as a car wheel so it is on bearing rather than a single axle.
The advantage to these wheels is that they are bigger than the Pets At Home one which means that the girls can run at full stretch for extended periods rather than have to arch their backs and suffer strain and injury from this.

The girls loved the wheel.


Four months after installing it there was a horrid grinding sound in the cage.
They little pests had attacked the soft metal of the rivets holding the turning mechanism to the wheel and it was practically hanging off.
Fortunately I was able to redrill the holes and secure with cut down stainless steel bolts, which (touch wood) they haven't managed to get through yet!

Play Time


Degus like interacting and constantly begin stimulated by their environment.
My Mum has become quite fascinated by ours, but then this is in part because they are an animal you can give 'toys' to.

As part of the bonding process we bought a puppy play pen from ebay as a poster on a Degu forum had some success with theirs in such a thing.
I thought this was a good idea to encourage our Goos to play with us and have much welcome time out of the cage.

Sadly our girls didn't like this.
I can only assume that the confined space and lack of visual stimulation due to the non see through walls was not what they wanted and they spent their time attempting to leap out, climb the walls or just frantically run in the wheel.


They were clearly distressed and it proved a fairly anxious 10 minutes for us.
The fact that they calmed immediately when put back in the cage validated this.


Next I tried to build a huge wooden play pen for them which would allow them to have their cage in the pen so if they felt anxious they could run home.


As you can see this was incredibly sizeable and unwieldy, not to mention that this is our home so practical storage of such a thing was massively inconvenient to us.


Plus it meant lifting the cage in and out all the time and the two of us had to be on hand to 'field' any errant Degu that decided to scale the cage and look to fling themselves off into the rest of the lounge.


Once we had improved the cage set up (see later post) we were able to attach a ramp to the front of the cage linking to the dinning table so they can have the space to run about more and play with us (as a result of the rewire our house was a non Degu safe building site for the best part of a year).


Eventually when I have built their new home I shall be Degu proofing a large run which can be easily attached to the front of their home and extend into the lounge so we can let them out without the need to for such strict supervision.

Introducing...


Just an excuse to post some cute pictures of the girls really.

When they were young we couldn't tell them apart particularly apart from the following:
Jalapeno would come onto your hand.
Serrano had pink pads on the bottom of her paws.
Pimento was the other one.

Now they are much older they have all developed separate personalities and can be told apart quite easily.

So without further ado:

This is undoubtedly my favourite picture of when they were little and we were all getting used to each other:


Young Jalapeño attacking a hanging toy


Jalapeño in a Take Away tub


Pimento exploring the new hammock


Pimneto posing for the camera


Serrano in 'Attention Seeking Mode'


An older Serrano munching on hay


I love how they sleep in a 'Goo Pile'


UPDATE 9th May 2012

I had to share a few more

Jalapeño interacting with Bex


Serrano testing the boundaries


A brave Goo looking to take the plunge


Pimento plays hide and seek on the wheel and behind the hay ball


Jalapeño refusing to let me get on with the day