
Given my enthusiasm to photograph everything it will probably be easier to break this down into three sections to make it more digestible.
As I have explained our little girls needed more space and being financially constrained by the construction work on our house I was desperate to find a solution.
I managed to find a second hand Thickets cage on Ebay for £25 and a seller who was prepared to put it on a courier provided I arranged it all - a big thank you Ainars!
Anyway I managed to track the cage all the way down to Exeter from Maidstone and it arrived at work 2 days later.

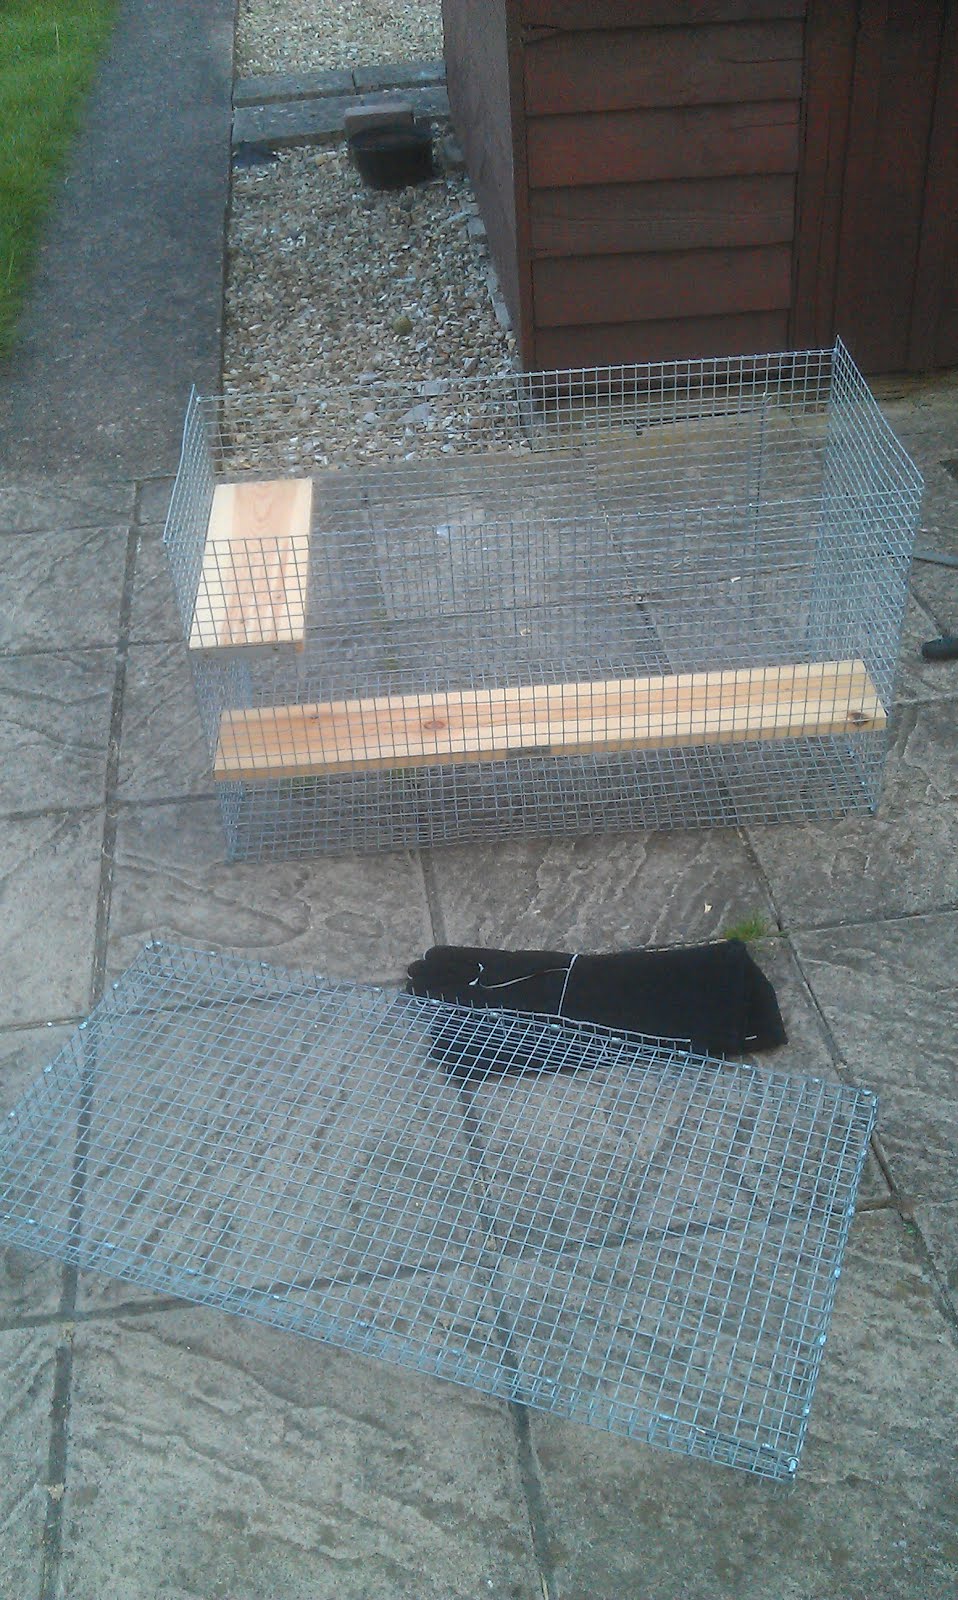
Having got it home and borrowed tools from work - file, pilers, tin snips etc - I was ready to start my plan.
Note the long gloves - saved me from some nasty cuts!

I started by moving the top shelf up by a few centimetres as the John Hopewell wheel doesn't fit under the standard Thickets Cage layout.
Using the tin snips I cut off the bottom hinges where the tray slides in and filed down the points.
This was a fairly laborious job!
I then bent over the corners to create a stronger, bigger surface for the new cage to attach to the top of the old one.

Then it was power tool time!
Using a large section of MDF the next step was to cut the exact size of the interior measurements of the top cage in order to create a large running platform for the Degus.


I then measured and cut kiln dried pine to ensure there was no way the Goos could get at the MDF edges

Before fitting the pine to the edges it was time to make an entrance to the upper level using a drill, a jigsaw and some precise measuring.

And of course these exposed edges had to be covered with pine.

It was not long after this stage that the light began to go... which is a fairly convienent place to call the first part quits.
No comments:
Post a Comment